The best indoor air quality and system efficiency start with a very simple and effective task: replacing your AC filter. Having a keen understanding of how to change the filter on the AC, you’re taking active steps toward better indoor quality for you and your loved ones. That’s why today, we’re diving into how to change a filter on AC and why it’s worth your while. Better air quality, lower energy costs, and a longer lifespan on your HVAC equipment? That’s a deal you can’t beat!
Let’s get into it.
Why Regular Filter Replacement Matters
If there have ever been times that you’ve noticed your HVAC giving you a weaker performance than usual–or maybe your home has been a bit dustier–these are usually symptoms of a clogged air filter. If you know how to change the filter on your AC unit, you are in possession of a crucial skill. If you don’t, that’s what the Optimum Air Solutions team is here for!
A clean air conditioning filter will help you maintain optimal airflow while ridding your indoor air of any contaminants that may be floating around. If you don’t have your air filter changed regularly, you are circulating contaminated air in and out of the filter that could ultimately trigger allergies and any other related health flair-ups.
Furthermore, when you know how to change an AC filter, you can mitigate the need for your system to work harder than usual when cooling your home. That said, with the overworking reduced, you’re also lessening the chances of more expensive repairs down the line. Now, let’s look at exactly what an air filter is and how to change the air filter on your AC, so you can keep your system running efficiently all season long.
Understanding the Role of the AC Filter
It’s no secret that your air conditioning filter is a very integral part of your HVAC system. It captures all of the dust, dirt, pollen, pet dander, and any other airborne contaminants harmful to the respiratory system before they’re able to be recirculated. When your air filter gets clogged, your AC will have to work harder to cool your space, because the airflow is being restricted.
The extra strain being put on your system can lead to premature wear and tear, which is why it is so important to learn how to change the air filter on your AC unit.
How to Know When It’s Time to Change Your AC Filter
If you pay attention to your HVAC unit, there are a few telltale signs that indicate it is time to have your air conditioning filter changed. First, if you notice an excess amount of dust collecting around your system and vents, less airflow coming from your air conditioner unit, or even an elevation in your allergy symptoms–it is time to change your AC filter.
A good rule of thumb is to have your air conditioner’s filter changed every 1-3 months, and maybe even more if you house pets in your space. When you know how to change your AC filter it is easier to keep the air in your home fresh and clean perpetually.
Step-by-Step Guide: How to Change Filter on AC
Now, for the moment we’ve all been waiting for: we’re telling you how to change the filter on an AC unit. Here are some tips to get you started:
Step 1: Turn Off the AC Unit
Before you approach any aspect of changing your air filter, make sure that your air conditioning system is turned off. Doing so will not only protect you, but it will stop any extra dust, dirt, and debris from being drawn back into your HVAC system while you’re working. Make sure your unit is powered off!
Step 2: Locate the Filter Compartment
Half of the battle when it comes to how to change a filter on your AC unit is knowing where to look. Typically, your air filter will be seated in the return air duct, which might be on a wall or in the ceiling. In other systems, your filter could be located inside of the main HVAC unit, so make sure that you check your system’s manual to verify.
Step 3: Remove the Old Filter
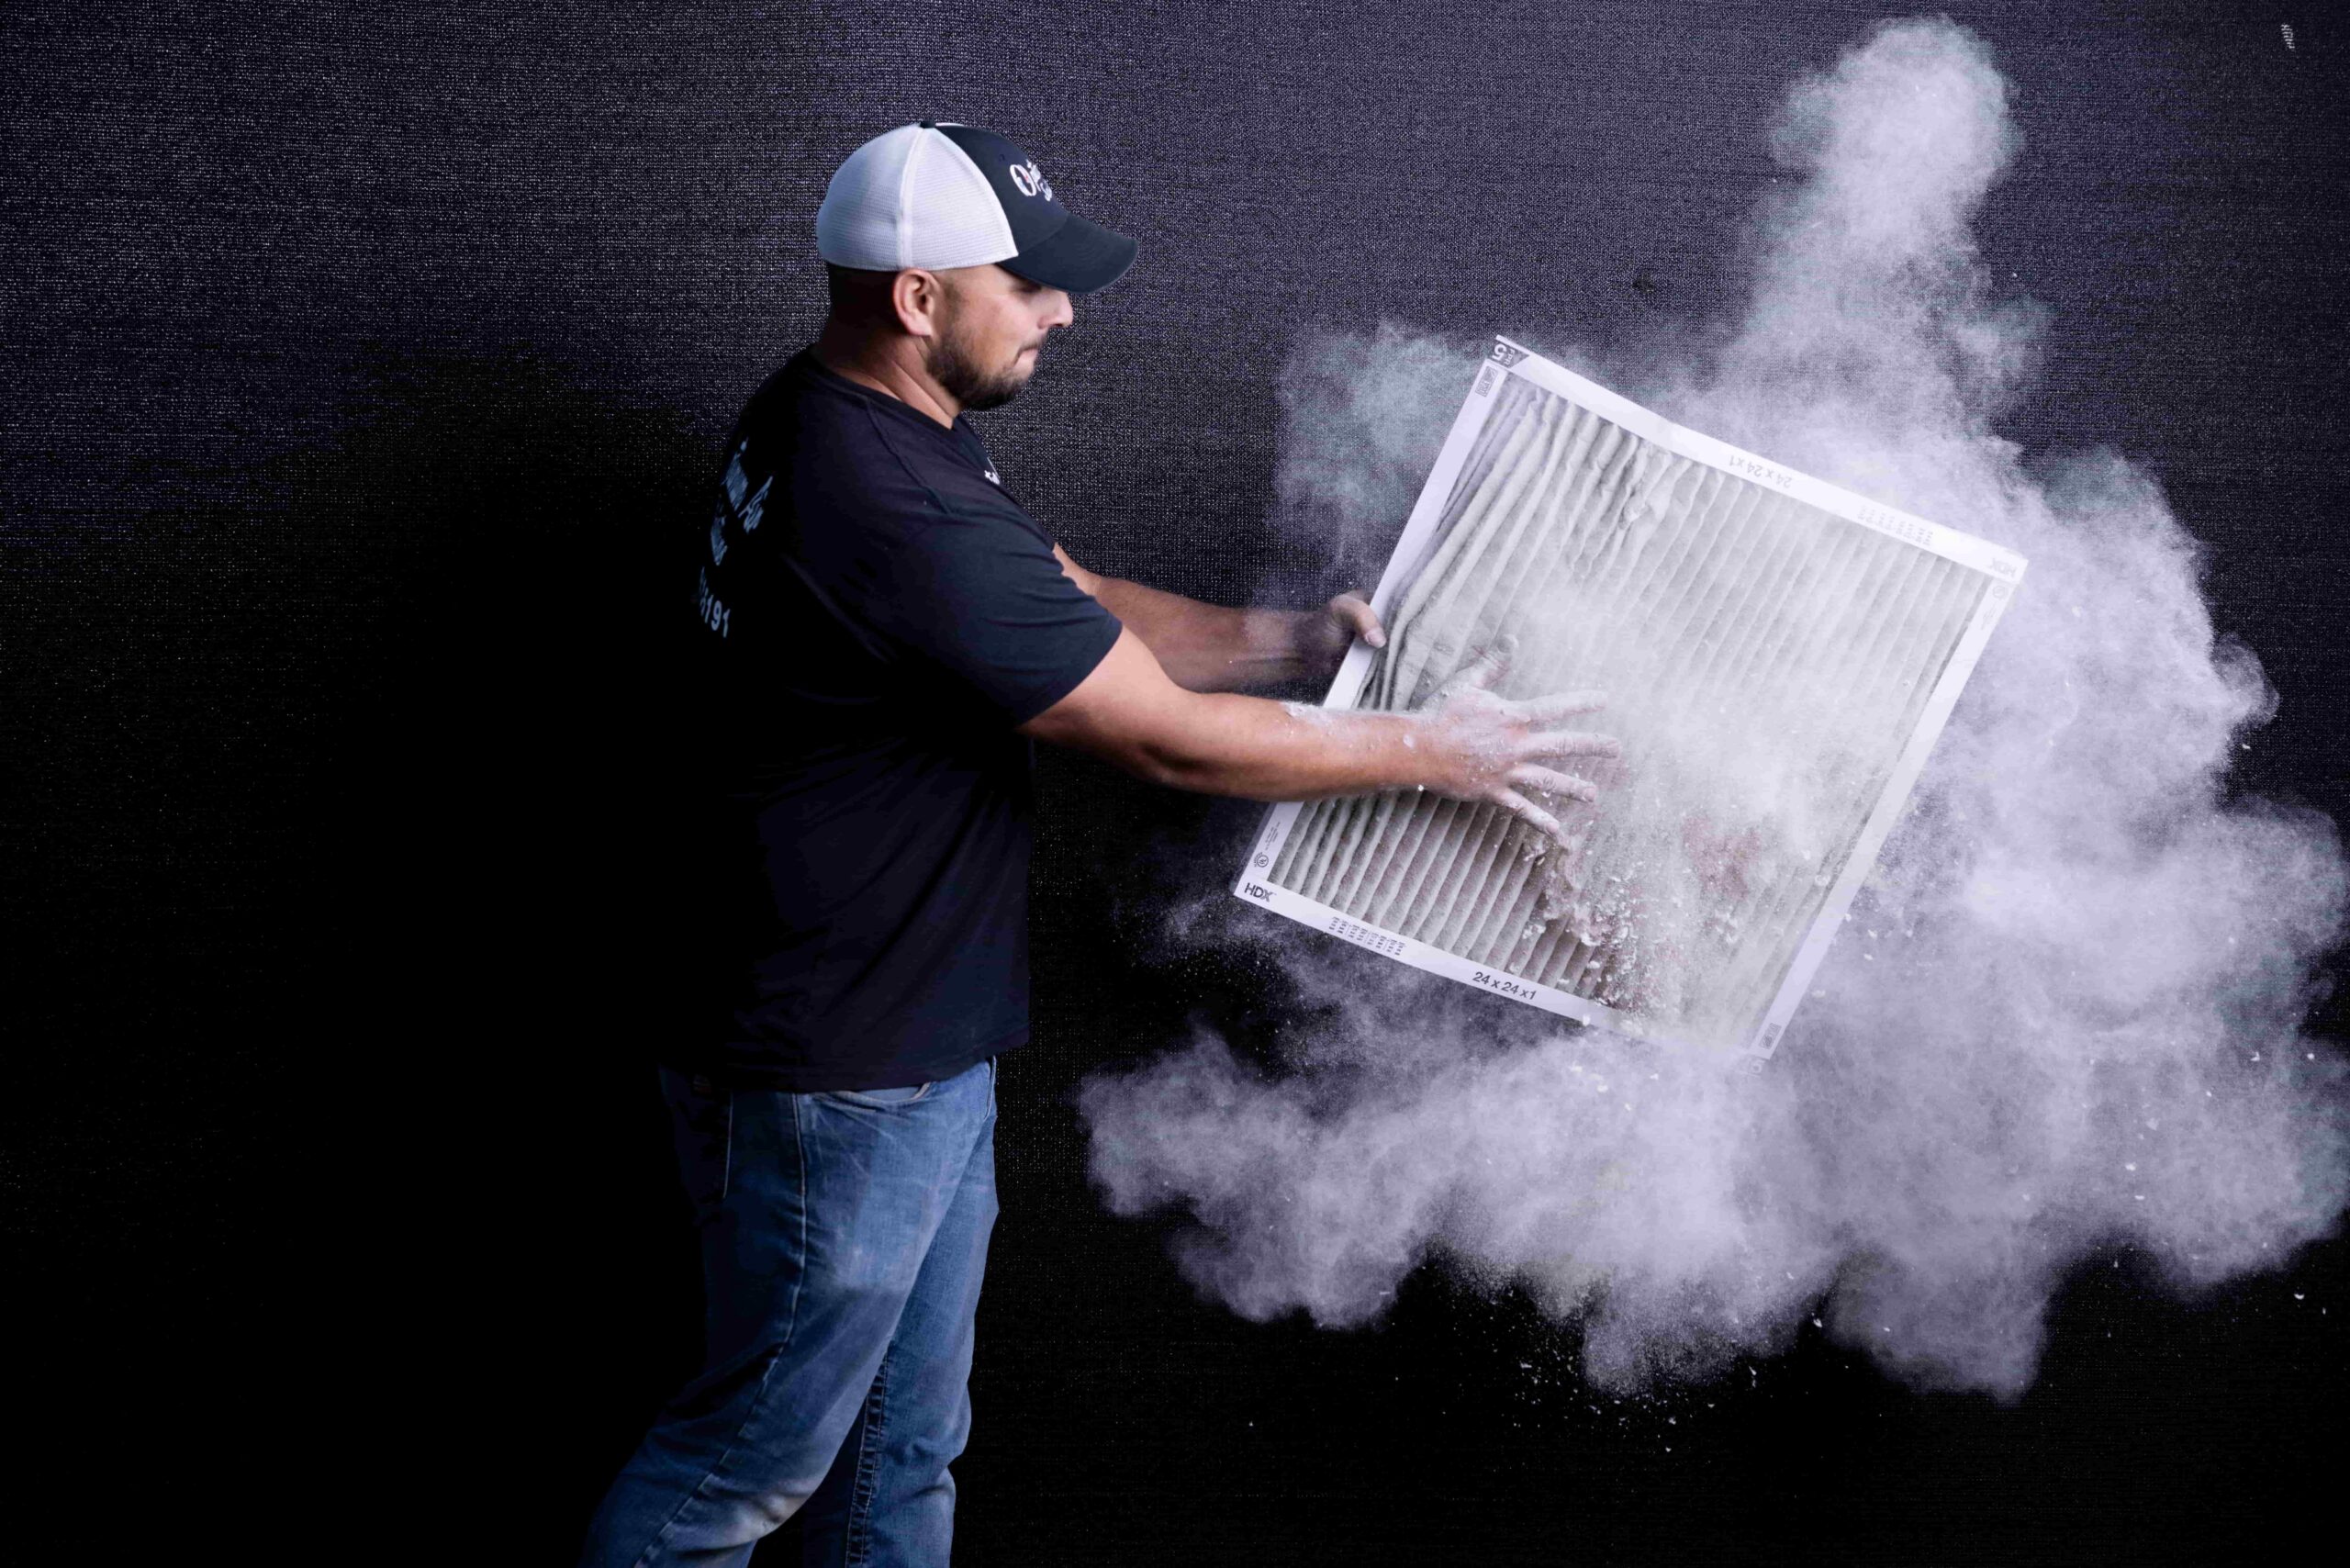
Once you find the air filter’s slot, gently slide it out. Make sure that when you remove it not to shake it. You don’t want the dust or other contaminants being released back into the air.
Step 4: Check the Size and Type of the Filter
Utilizing the right-sized air filter will be integral in its replacement, as it affects the very performance of your system. Knowing how to change the filter on your AC also means being able to choose the right MERV rating for your system. MERV ratings help to rate the effectiveness of the filters when it comes to trapping particles.
Step 5: Insert the New Filter
Once you’ve properly removed the old air filter, now it’s time to insert the fresh one. That said, you want to make sure that your filter is facing the right direction. It should align with the direction in which the air flows through the system. The more you know about how to change a filter on an AC, the better you will be able to facilitate filtration.
Learning how to change the filter on your AC is a simple task that every homeowner should take the time to understand. Being able to change your air conditioner’s filter gives you the power to help extend the efficiency and lifespan of your Maintain HVAC System. If you’re still a little foggy about how to change the filter on your AC, the Optimum Air Solutions team is here to help!
We specialize in all things HVAC. Click here to speak with our team of experts and learn how we can have you breathing easy in the Big Easy!
continue reading
Related Posts
For many homeowners, a functioning water heater is an integral
Whether you have central air conditioning or a ductless mini-split,
As any property owner knows, having an efficient, well-maintained water


